

Are you a tech-savvy enthusiast or simply someone looking to elevate the quality and experience of at-home audio devices? If so, you will surely love to learn about wireless ceiling speakers.
Their manufacturing is done in such a way as to relay an excellent sound quality, and they offer vaiorus other benefits you will love. They have a sleel design and are extremely convenient to have.
They also carry a unique aesthetic appeal owing to their wireless features and clean, minimal look. Tempting, right?
If you are intrigued, read on as we take you through a comprehensive step-by-step guide on how to install wireless celiling speakers in your home by yourself.
Preparing for Installation
Before moving to actually installing the wireless speakers, you need to do some requisite pre-preparation. Let's examine what you need to do before installing the wireless ceiling speakers.
Understanding Your Space
Before picking up your tools, you need to stop and take a good look around your space. You need to take note of the height of your ceiling, the layout of your furniture, and the architectural dimensions. This is done to assess how sound will travel throughout the space.
For example, let’s consider the scenario where you are working with a multi zone receiver. In such a case, you are to ensure that your speakers are installed at a spot that covers all areas of your space. This is especially important in the case of a whole house audio setup.
Choosing the Right Equipment
Next, you need to choose the right equipment for your set up. This selection process is crucial to ensure the overall success of installation and quality of the ceiling speakers.
Therefore, you should make a rough checklist, listing key features you would want to look for when buying a wireless speaker.
Some key features that you must pay attention to are:
- Audio quality
- Integration with other devices
- Power capacity
- Wireless connectivity features
- Price
These characteristics will come in handy while comparing different products from various brands.
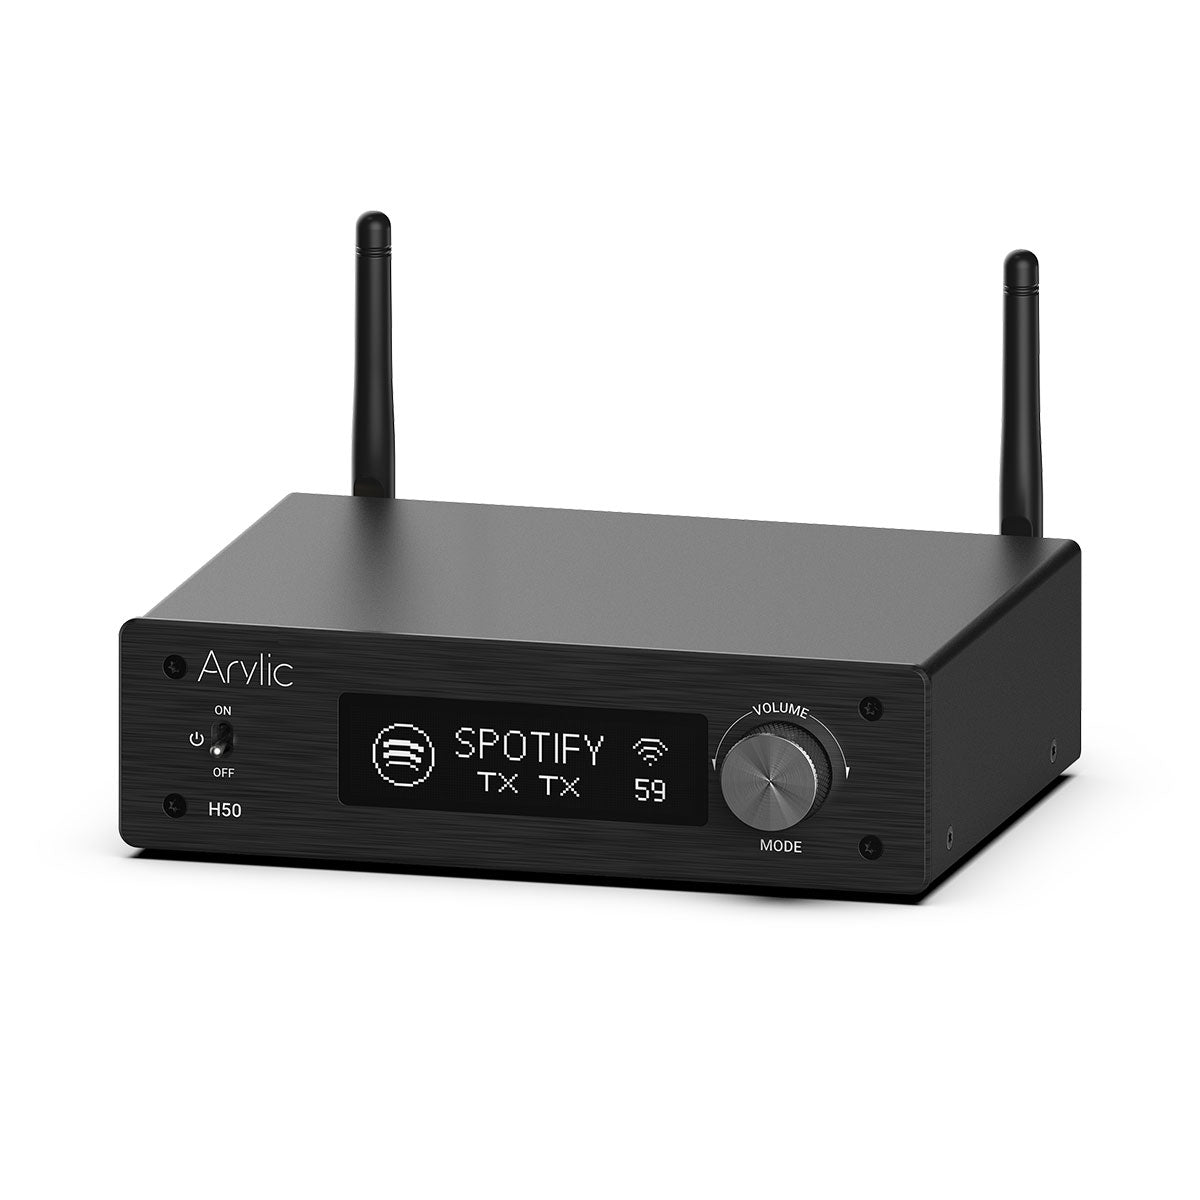
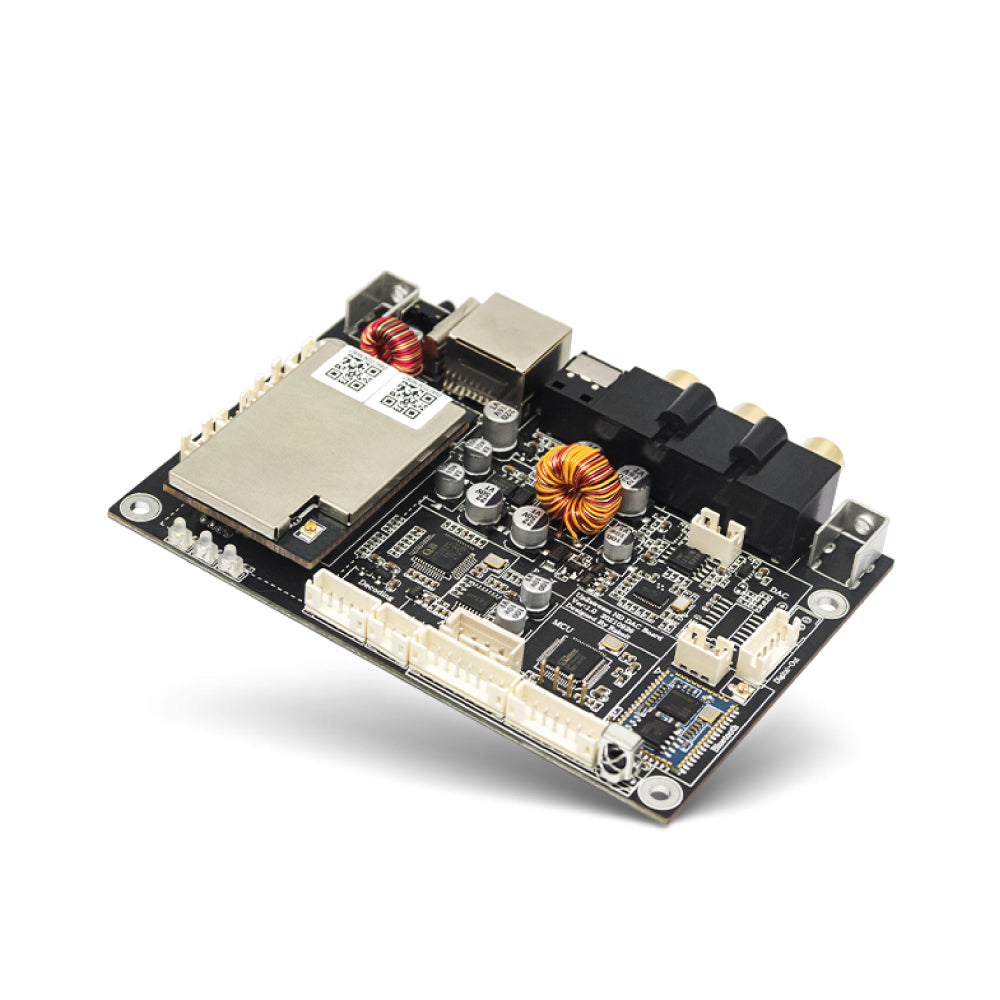
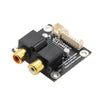
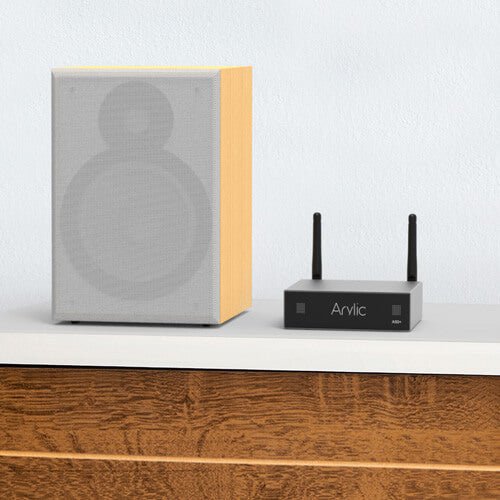
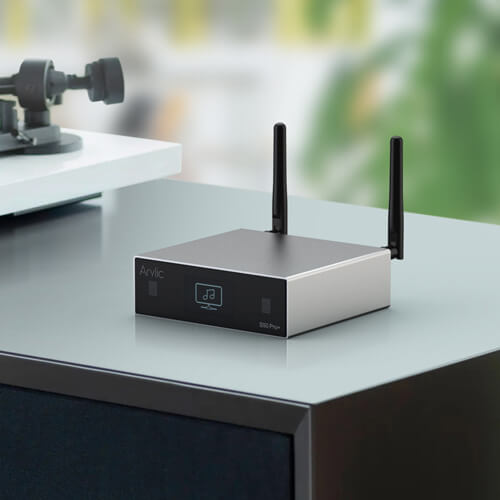
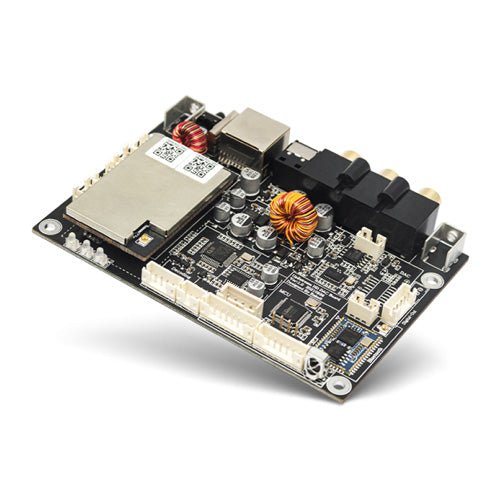
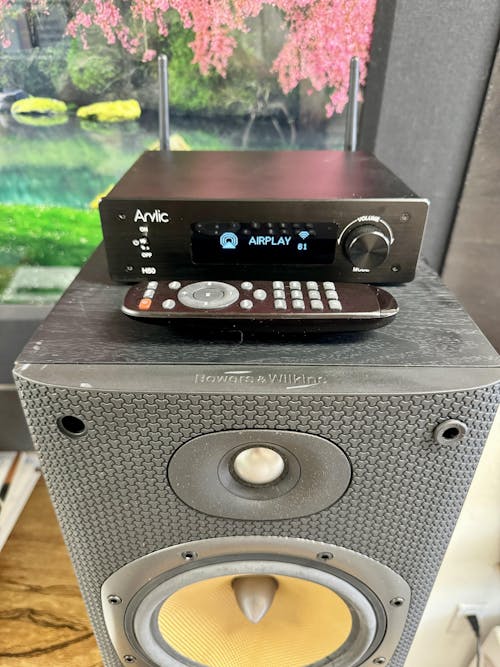
It is also essential to source your ceiling speakers from a trustworthy brand. Based on extensive research, we recommend Arylic, a brand that provides excellent products that seamlessly integrate with existing music streamers.
Step-by-Step Installation Guide
By now, you have made a thorough assessment of your space and purchased suitable wireless speakers for your ceiling. The next step entails installing them correctly and efficiently; we will be taking you though a detailed guide of it.
1. Gather Your Tools and Equipment
Now, you cannot begin before gathering all the tools in one place, can you? You will be doing the installation process yourself. So that means you will be marking the speaker’s location, drilling holes, and incorporating the speakers in the hole you will drill.
For the whole proess, you will need instruments such as a drill, measuring tape, and mounting bracket. Gather all these tools and place them in one area - it will save you both time and energy.
2. Mark the Speaker's Locations
Before you begin drilling, you need to mark the location on your ceiling where you want the speakers to fit inside. The spot should be in a symmetrical and acoustically balanced position for the best sound effects.
You should use a measuring tape for this. You can just mark the location with a measuring tape, and then step back and assess the spot from a distance to make an accurate assessment.
Make sure that the wireless ceiling speakers are equal distances from each other and the walls simultaneously. If necessary, you can test the sound in the space before marking the location.
3. Cut Out the Speaker Holes
At this stage, you will want to check any prior wiring and insulation that could become damaged during the process if left unchecked.
If you are installing your ceiling speakers with a DIY Bluetooth speaker kit, ensure that the size of the hole matches the width and length of your speakers.
The primary tools you would need for this stage of the process are a drill, keyhole saw, knife, and protective clothing. A cloth would be wise to get as well to catch debris as it falls during the installation process.
4. Install the Mounting Brackets
Once you have decided on the spot and drilled a hole in the intended spot, the next step is to securely attach mounting brackets to the roof.
The primary purpose of these brackets is to prevent your wireless speakers from falling from the ceiling and preventing any damage to the speakers. This additional support also ensures that the speakers remain intact in their space and are in the correct alignment.
Nonetheless, you do need to ensure that the size of the mounting brackets correspond well with the dimensions of the wireless speakers. We advise you to review the instructions from the instructions manual as well to make sure everything goes in place correctly.
Connecting and Configuring Your Wireless System
Having prepared the space for installing speakers in your ceiling, now we will discuss how to actually install them and configure the whole set up.
1. Install the Wireless Speakers
After you have securely mounted the brackets in their intended spot, you will install your speakers. You should recheck and consult the instructions manual again and again to avoid damaging any significant part of the peaker.
At this point, the speaker should fit smoothly without resistance into the bracket. Then, secure everything tightly to prevent any breakage.
Nevertheless, double-check again to make sure that the orientation and alignment of all the components of ceiling speakers is in order. It will prevent any future inconveniences.
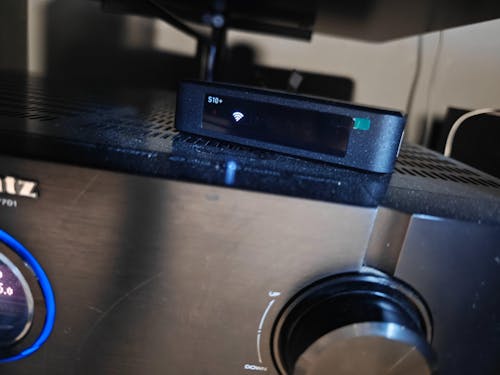
2. Connect to Your Wireless Network
Once everything is positioned in space, you will connect the speaker to your Bluetooth and home Wi-Fi connection. At the same time, you sould ensure that your connection is stable and consistent for maximum results.
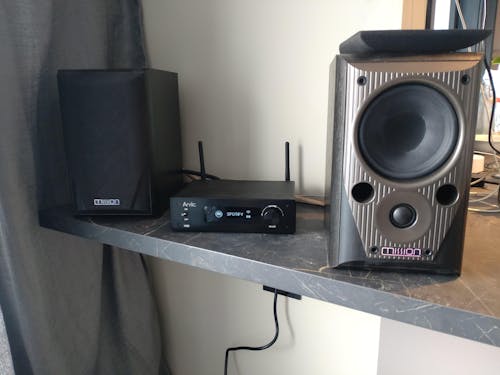
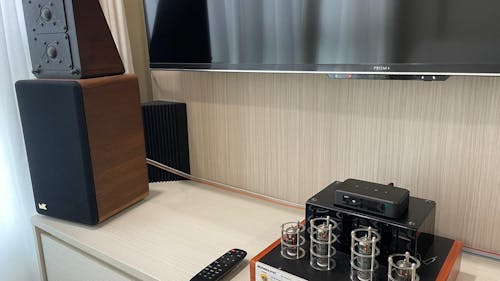
Based on your setup and goals, you can integrate the wireless ceiling speakers with an Airplay 2 amplifier, Alexa amplifier, or Spotify streamer. This step completely relies on your individual preferences and tastes. You can find any additional instructions you require for it in the product’s manual.
3. Configuration and Testing
Configuring the speakers with an easy-to-use app will allow you to control the volume, audio modes, and equalization of your devices efficiently. To eliminate any future frustration for yourself, you need to make sure that the app you install is user-friendly and navigable.
The Arylic app, for instance, is easily available on Android and iOS devices and can be installed on your phone or tablet. Its navigation is extremely easy to follow. Once you feed network credentials into the app, your speakers can be seamlessly grouped together for configuration.
Arylic Wireless Ceiling Speakers
To save your time and energy in searching for quality wireless ceiling speaker, we have gathered some amazing Arylic products for you to choose from. Arylic is a leading brand in this industry; a one-stop for all your audio needs.
It not only has premium-quality products, but focuses especially on customer satisfaction and maximum output. You will love Arylic and its products.
Acrylic has an impressive portfolio display of premium wireless ceiling speakers. They promise high-performance hardware that can easily integrate with your existing streamers with minimal resistance. Tempting, isn’t it?
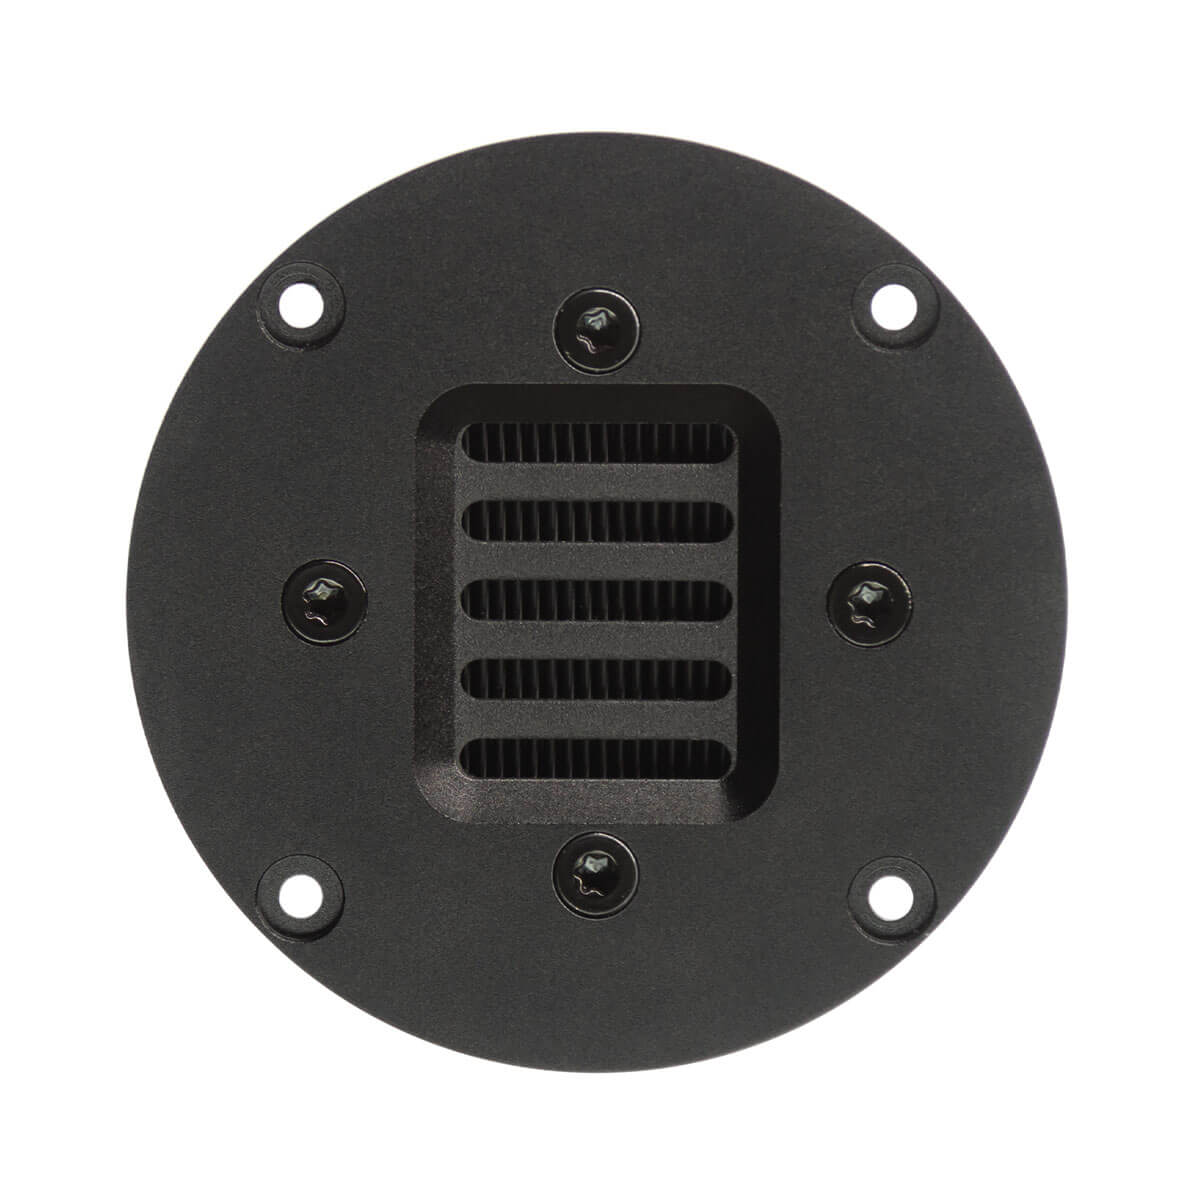
1. WBC65 6.5" Wireless Multiroom Ceiling Speakers
For one, there is the WBC65 6.5" Wireless Multiroom Ceiling Speakers. It offers a multiroom audio solution with a built-in, powerful amplifier. It is also very easy to install and can be controlled via the 4STREAMER app, available for both Android and IOS devices.
2. RK525 5.25" 2 Way 60W Full Range In-Ceiling Speaker
Similarly, the RK525 5.25" 2 Way 60W Full Range In-Ceiling Speaker has a 60W output. It has a full range, powerful premium sound that is unmatched when compared to other speakers on the market.
Not only is this speaker built with high-quality material, but it is also user-friendly and easy to install and configure, like all other Arylic Products.
Conclusion
Installing wireless ceiling speakers in your home is a great way to improve the audio quality of your devices. This cutting-edge technology allows you to listen to music and other content of your choice while maintaining an aesthetically clean look.
Investing in a product that has the potential to significantly improve the quality of your daily life and the ambiance of your living space is always a preferable step, isn’t it? Such speakers offer to satisfy both, hence proving to be worth their cost.
We have taken you through a complete step-by-step guide on how to first assess your space, make necessary preparations, and then install, connect and configure the whole set up.
If you are considering which wireless speakers for ceiling to buy, don’t forget to check out Arylic and its remarkable products.


Leave a comment
All comments are moderated before being published.
This site is protected by hCaptcha and the hCaptcha Privacy Policy and Terms of Service apply.