


Vintage amplifiers are, undoubtedly, legendary for their warm, high-quality analog sound, however, these amplifiers struggle to fit within the modern home theatre system due to technological incompatibilities. With smart TVs, gaming consoles and streaming devices relying on HDMI ARC, these classic amps feel like relics of the past.
HDMI ARC (Audio Return Channel) bridges this gap and allows your beloved amplifiers to blend in with today’s smart music streamers whilst still preserving their iconic sound quality.
Not only does this addition improve functionality, but unlocks support for high-quality audio formats such as Dolby Digital and even allows for amplifier control via remote. The enduring convenience and sound quality of vintage amplifiers alongside modern capabilities is sure to extend the lifespan of the system's centerpiece and of course, elevate the audio theme.
This guide explores the game-changing benefits of upgrading vintage amplifiers with HDMI ARC, and how it can transform the entire audio experience. When the best features of the vintage charm are combined with modern HDMI amplifiers, you get a perfect blend of nostalgia and cutting-edge technology.
Understanding HDMI ARC and Its Advantages
What is HDMI ARC?
HDMI ARC (Audio Return Channel) is a feature embedded in HDMI cables and ports that simplifies audio connectivity between TV and external audio devices, such as speakers or stereo amplifiers. Unlike conventional HDMI, which only allows audio and video to flow one way from the device to a display unit, HDMI ARC enables audio flow in both directions.
This means your TV can send audio out to the amplifier while also receiving the commands like voice control, over a single cable. This streamlined approach means fewer wires and less clutter, perfect for your modern-day whole home audio systems.
For instance, while watching a movie on a smart TV, you can send audio directly to an HDMI amplifier or a speaker system without the need to run any extra cables. It also gives your TV remote the ability to control external music streamers, removing the need for extra remote controls.
HDMI ARC works with standard audio formats like Dolby Digital and DTS, making the feature acceptable in most home theater systems.
Differences Between HDMI ARC, eARC, and Optical Audio
While HDMI ARC is a considerable improvement for vintage amps, it’s important to understand how it’s different from other audio connections
1. HDMI ARC vs. eARC -
It goes without saying that eARC (Enhanced Audio Return Channel) is a better version of ARC with greater bandwidth plus the capability to handle advanced features like Dolby TrueHD as well as DTS-HD Master Audio. Even though eARC is superior, HDMI ARC still provides best sound quality for the majority of users' setups.
2. HDMI ARC vs. Optical Audio –
For many years, Optical cables have served as one of the best audio solutions, but, unlike HDMI ARC, they do not support other hi-res audio formats. Furthermore, optical cables transmit audio via light signals and lack two-way communication, meaning you cannot adjust volume or power setting with one remote as you’d do on HDMI ARC.
Why Choose HDMI ARC Over Other Audio Connections?
For an owner of vintage amplifiers, HDMI ARC makes a lot of sense due to the following reasons:
✅ Low Complexity – Less hassle and mess around wires. You can ditch other cables for one single HDMI cable and that’s it — no more analog or optical wires.
✅ Superior Audio Quality – Seamlessly allow high-fidelity audio formats for a richer and more immersive sound experience.
✅ Effortless Control – Change the volume or adjust power settings using the TV remote, eliminating the need for multiple controllers.
✅ Future-Proof Your Setup–modern TV and streaming devices, now prioritize HDMI ARC, making it a long-term option for connectivity.
In short, embracing HDMI ARC over other connections lets you breathe energy into old, vintage amplifiers while helping you unlock the seamless convenience of modern technology. It’s like giving your beloved amp a new lease on life in today’s digital world.
Challenges of Connecting HDMI ARC to a Vintage Amplifier
Revamping a classic amplifier with HDMI ARC can, undoubtedly, enhance your audio experience, but it isn't always a plug and play process. Older models were not built with HDMI technology in mind, which creates multiple compatibility issues. From missing needed formats, and ports limitations, there’s a challenge for every possible upgrade. Here’s how to address these problems.
1. Absence of HDMI Ports on Older Amplifiers
One of the major hurdles in vintage amplifiers is their total lack of HDMI inputs and outputs. Since HDMI ARC functionality requires an HDMI port to send and receive audio; the lackness seems like a barrier.
Workaround: Fortunately, HDMI ARC adapters and extractors are able to bridge the gap. These devices can convert HDMI ARC signals to analog or digital outputs like RCA and optical. This means that the audio from modern TVs can finally reach your vintage amplifier. For seamless integration, ensure the adapter supports ARC along with the selected audio formats.
2. Problems Regarding Compatibility with Modern TVs
Even if you have an HDMI ARC adapter, you still may need to face TV and amplifier compatibility issues. Certain TVs often fail to recognize older amplifiers or external converters, further creating issues like audio dropouts or inconsistent performance. Additionally, control features like volume adjustment via the TV remote may not work seamlessly without additional configuration.
Workaround: Explore the audio settings of your TV and make sure the HDMI ARC feature is turned on. Sometimes, the right audio output must be selected manually. In such cases, using PCM (Pulse Code Modulation) may be the safest choice to go with older stereo amplifiers. If the problems continue, try an optical audio connection; it won’t work with all the HDMI ARC features, but it might solve some problems.
3. Restrictions Concerning Audio Formats
HDMI ARC can handle a range of audio formats, but all may not work with vintage amplifiers. Like a lot of older amplifiers, which sometimes have full support for the analog signal, they fail to accept more advanced standards such as Dolby Atmos or DTS:X. Any unsupported format sent to the amplifier will cause it to produce no sound or distorted audio instead.
Workaround: Change the output to PCM instead of Dolby Digital or DTS, and the sound will no longer cause problems. Uncompressed stereo sounds in PCM are accepted without hassle by amplifiers of vintage status. If surround sound is important to you, a DAC (digital-to-analog converter) could be used to easily switch between the two standards.
What You Need to Add HDMI ARC to Your Vintage Amp
Integrating HDMI ARC functionality to an older amplifier involves some necessary components. Because older amplifiers do not have HDMI inputs, there is a need for special adapters to connect modern TVs to the older music streamer. The following list has these main devices and other accessories that are needed to establish the connection.
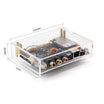
1. HDMI ARC Audio Extractor
An HDMI ARC audio extractor is the most important part of the whole setup. This audio extractor takes the ARC signal from your TV and wirelessly transmits it to your vintage amplifier. HDMI – RCA, HDMI – Coaxial, or HDMI – Optical (TOSLINK) are some of the compatible outputs your extractor will have.
Recommended Models
● J-Tech Digital HDMI ARC Audio Extractor – Great for turning ARC signals into optical and analog outputs
● AudioEngine D1 24-Bit DAC/Audio Extractor – Premium option, best for sound conversion quality.
● OREI HDS-935 HDMI ARC Extractor – Affordable, reliable, and supports multiple audio outputs.
*** You must ensure that the extractor supports HDMI ARC, as not every HDMI extractor will have ARC support.
2. DAC (Digital-to-Analog Converter) for Analog Amplifiers
If your Older amplifiers only accept analog output like RCA or AUX inputs, the use of a DAC (Digital-to-Analog Converter) is a must. While some HDMI ARC audio extractors already come with built-in analog output, a standalone DAC gives you better sound quality.
By having a DAC, your TV's digital audio signal gets converted into audio format–the one your vintage amplifier can process–so as to maintain audio clarity while avoiding distortion.
Recommended DACs:
● FiiO D03K DAC - Exceptional value and quality for uncomplicated conversion of audio to analog.
● Cambridge Audio DacMagic 100 - Premium audiophile level DAC with unmatched sound quality.
● Prozor Digital to Analog Converter - Inexpensive and low complexity make this a set and forget solution.
3. Needed Cables and Adaptors
Now with the above equipment, the following cables are necessary in order to connect everything properly:
● HDMI Cable - Used for connecting an audio extractor to TV's HDMI ARC port.
● Optical (TOSLINK) or Coaxial Cable - Used for transferring the digital audio signal from the extractor to the DAC (in case it's necessary)
● RCA Cables (Red/White Analog Cables) - Required in order to connect the extractor or DAC to AUX or input of the amplifier.
Step-by-Step Guide to Connecting HDMI ARC to a Vintage Amplifier
Building connections between HDMI ARC and vintage amplifiers is such a rewarding process because it gives you the best of both setup–classic charm and modern convenience. If you're ready to rediscover this out-of-the-world experience, you’ll need to follow these step-by-step guidelines.
Optimizing Audio Performance
After you’re done building all the connections, it’s time to fine tune the audio settings so you can get the best possible sound. Carrying out these adjustments result in rich, more immersive experiences without issues like audio lag, volume mismatches and distortion.
1. Best Audio Settings for HDMI ARC on Different TVs
Despite your brand of choice, there are a handful of things you have to prioritize when adjusting the audio settings of your TV. This is how you can set the best sound configuration for the major brands:
Samsung TVs
✔ Navigate to Settings > Sound > Expert Settings
✔ Set HDMI ARC Output to either PCM (if you have an older amp) or Bitstream (if you have a modern DAC)
✔ Turn off TV Speaker and make sure External Audio Output is active
LG TVs
✔ Go to Settings > Sound > Sound Out
✔ Change HDMI ARC to Automatic and then change Digital Sound Output to PCM
✔ Disable AI Sound pro (it sometimes makes external audio worse)
Sony TVs
✔ Navigate to Settings > Display & Sound > Audio Output
✔ Change Digital Audio Out to PCM or set it to Dolby Digital if your extractor/DAC can handle that
✔ Turn on AV Sync Adjustment for more precise latency modification
TCL / Hisense / Vizio TVs
✔ Go to Settings > Audio > HDMI ARC
✔ Set default to Automatic or PCM in order to ensure compatibility
✔ Switch off any Audio Processing Effects which may modify the signal
2. Adjusting Volume and Latency Issues
If you are dealing with low volume output, lip-syncing, or some lag, trying these fixes below may alleviate the problems.
✅ Monitor TV Volume Levels – For some TVs, external speakers might have their own volume control. Make sure to set them properly.
✅ Turn On or Off CEC (Consumer Electronics Control) – With this setting, the amplifier volume can be modulated using the TV, but it could lead to inconsistent volumes.
✅ Use Lip-Sync Adjustment – A larger number of TVs, as well as HDMI extractors, include the AV Sync setting as a feature that aids in syncing sound with picture.
✅ Experiment With Different Audio Encodings – For older amplifiers, PCM is the safest option, while for others it could be Dolby Digital, but the stereo amplifier would need a good quality DAC.
3. Adjusting Sound Quality through External DACs
You can find an HDMI ARC audio extractor with a DAC built-in. However, sound quality, as well as clarity, and depth of the audio will greatly increase by using a standalone DAC.
Why Connect an External DAC?
✔ Improved Sound Quality – Use of higher bit rates and better sound conversion results in amplifying the audio.
✔ Increased Clarity and Less Noise – A more natural sound is provided due to the elimination of digital artifacts.
✔ Better Versatility – The external DAC works with high-resolution audio formats.
Alternative Solutions for Connecting Modern Audio to Vintage Amps
If HDMI ARC isn’t suitable for your setup, don’t worry, you can also try some other alternatives. These variations, which include wireless streaming, optical adapters, coaxial adapters, and others, guarantee that modern music streamers can be integrated with vintage amplifiers and high-quality sound is achieved without losing the classic charm of the analog systems.
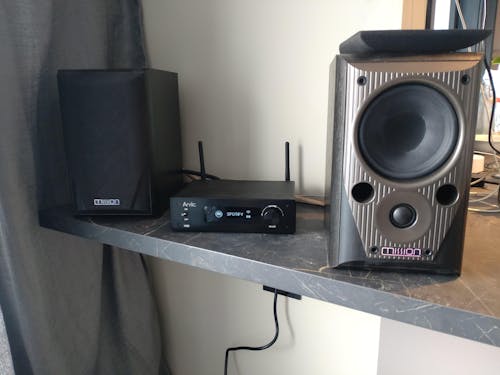
1. Bluetooth and Wireless Streaming Options From Arylic
For someone who just loves the comfort of wireless audio, Bluetooth amplifiers and wireless WiFi provided streaming devices, from Arylic, are the best. These adapters connect to a vintage amplifier and enable these modern devices to be used without any hassle.
Best Arylic Solutions for Vintage Amps:
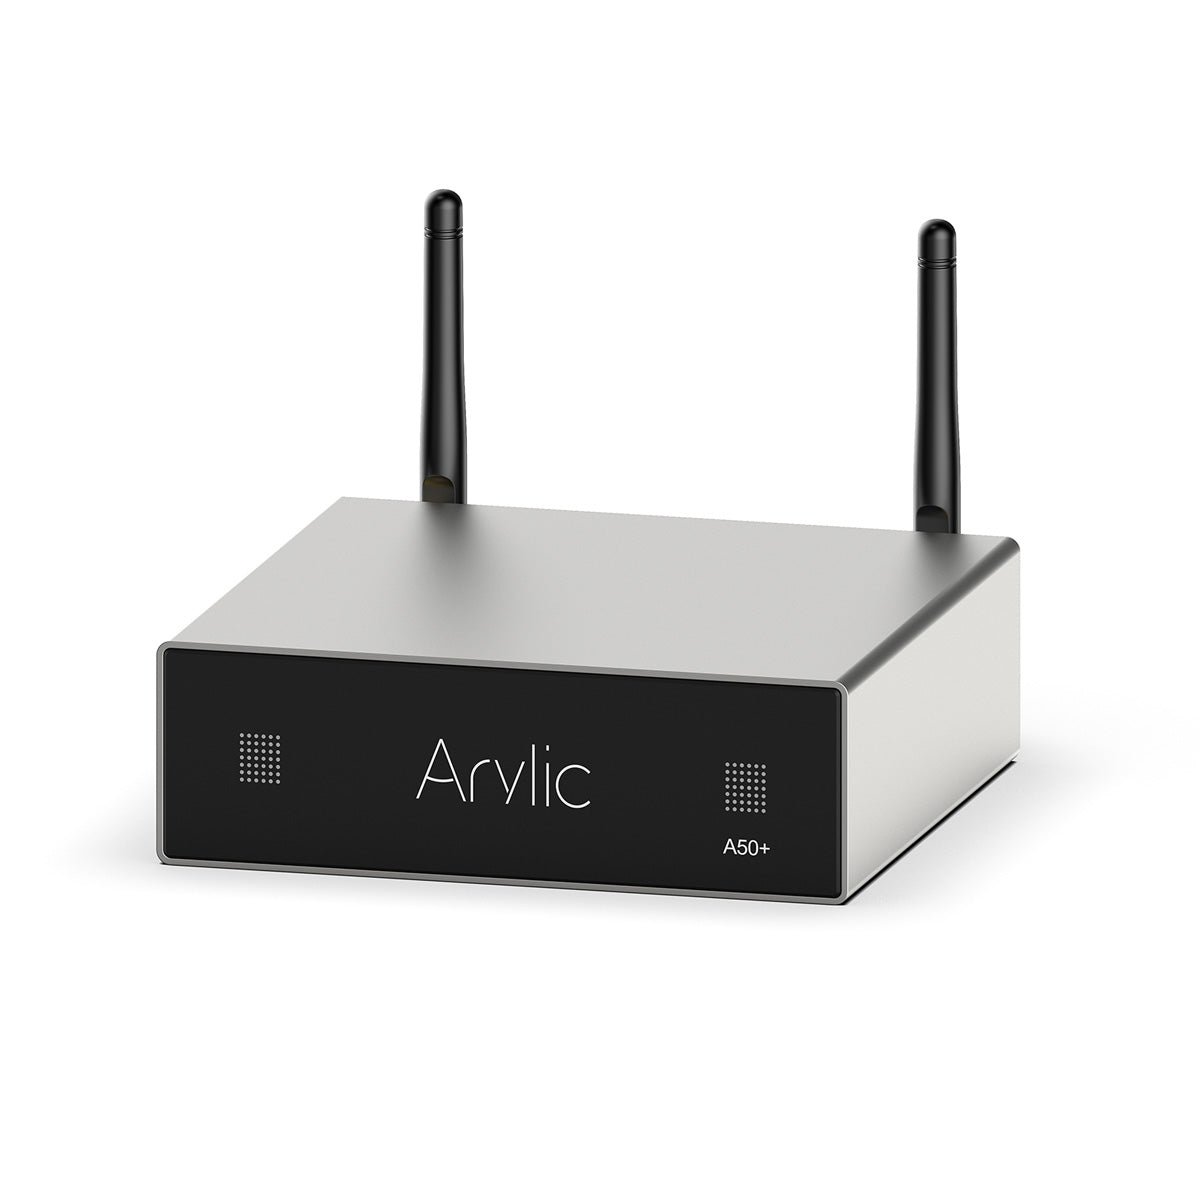
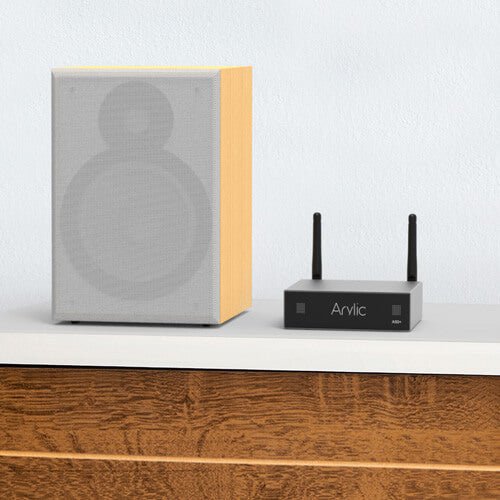
Arylic A50+ Wireless Amplifier – This is an ideal stereo amplifier for modern use with a vintage amplifier or speaker as it can connect through Bluetooth, Wifi, and multi room audio.
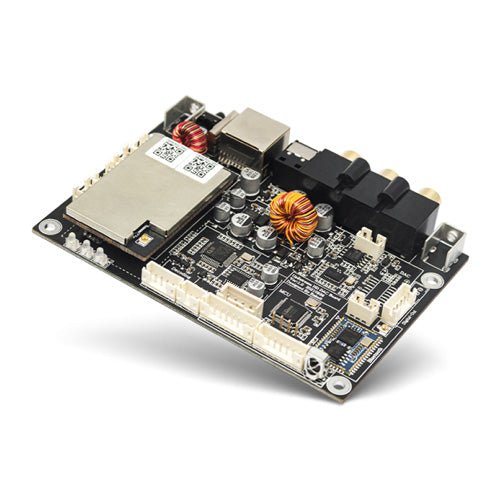
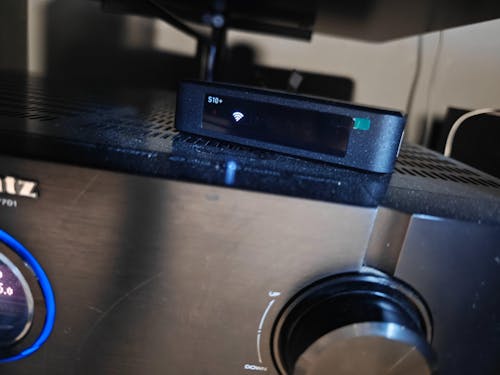
Arylic S10 Wireless Preamp – This device enables users to turn on a vintage amplifier into a smart AirPlay, Spotify Connect, DLNA streaming hub.
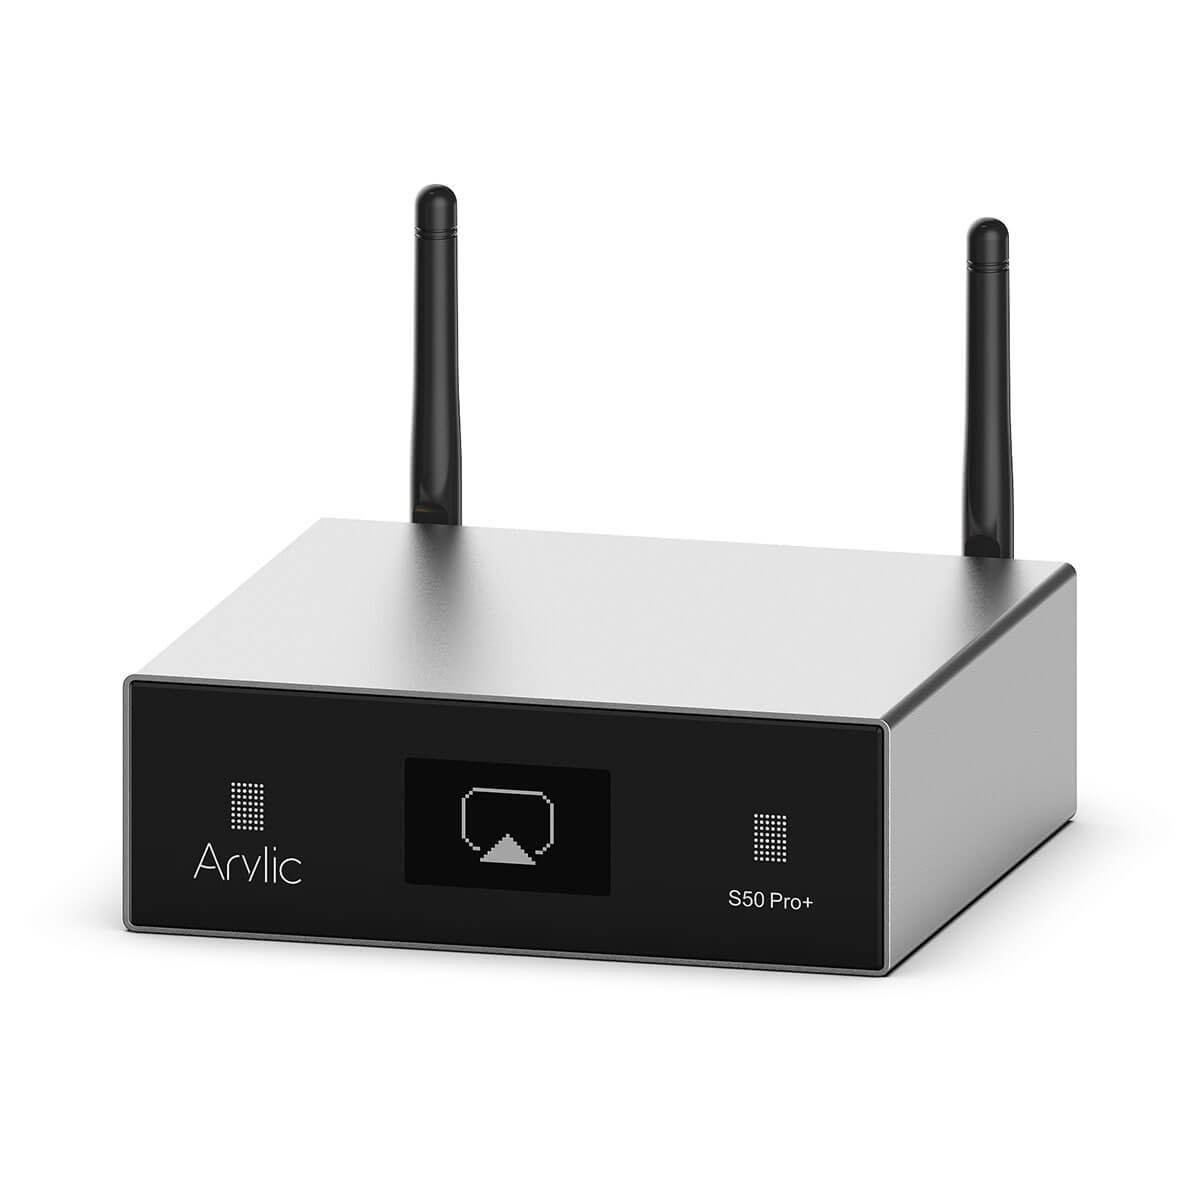
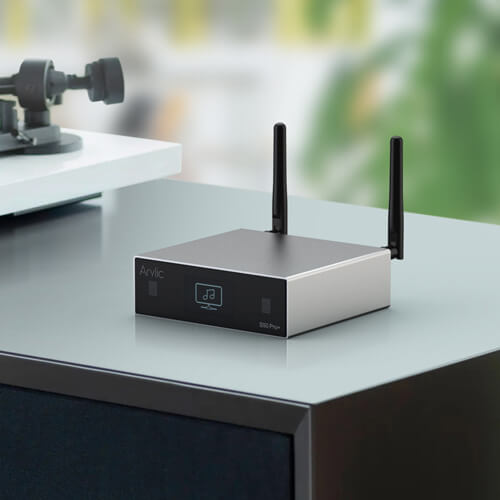
Arylic S50 Pro+ – This is a top of the line wireless music streamer capable of higher sound resolution and quality than the rest, enabling multiple analog and digital outputs.
Why Opt for Wireless Streaming?
✅ Stream music from any device – You can link tablets, smartphones, and computers effortlessly.
✅ Supports high-quality formats – Some Wi-Fi streamers enable lossless audio which enhances sound quality.
✅ Multi-room audio – Synchronize several speakers in your house to play the same song
2. Optical and Coaxial Audio Adapters
Coaxial and Optical (TOSLINK) outputs are still offered on most modern TVs and streaming devices. If you have an older amplifier, which only offers RCA or AUX inputs, you will need to utilize a DAC to bridge the connection.
How It Works:
1️ Plug the optical or coaxial output to the DAC input from your TV or streaming device.
2️Connect the DACs’ analog output to the amplifier AUX or CD input via RCA cables.
3 Tweak the settings for proper audio output (PCN is preferred for TV audio).
3. Incorporating Smart Technology with the Home Audio System
If you would like to add a smart home audio system with a vintage amplifier, you can enable multi-room streaming and voice control with the use of various other devices, hubs, and adapters.
Adapters and Smart Audio Hubs:
l Alexa enabled Echo Dot / Echo Link – Use Alexa for hands-free music playback.
l Google Chromecast Audio – While it's no longer being produced, many still have them. It allows vintage setups to use Google Assistant and casting.
l Sonos Port – This device is an expensive option that integrate classic amplifiers into Sonos whole home system
The Advantages of Smart Technology Integration in the Home:
✅ Voice-controlled Playback – Select the volume or choose the next song without having to use your hands.
✅ Multi-room synchronization – Play identical music in different rooms at the same time.
✅ Access to major streaming services – Easily stream content from Spotify, YouTube music, or Apple Music.
Conclusion
Adding HDMI ARC to your vintage amplifier is not just a simple upgrade, but a complete transformation. This lets you savor the crisp, analog feel of your classic amp without needing to spend a fortune on modern, industrial-grade amps. Forget about having to deal with several remote controls, old-school connections, and their excessive complications, just experience effortless control, outstanding sound quality, and smart device compatibility like never before.
All of this can be achieved using the correct approach: Implementing a quality HDMI ARC extractor, tweaking your audio settings, and using a DAC when required. Your amp, once limited by its era, will work great in this high definition sound world.
This way, you not only preserve a piece of audio history, but turn it into a dynamic modern masterpiece. Relax, turn the volume up, and enjoy the timeless vintage sound blended beautifully with advanced modern day technology.


Leave a comment
All comments are moderated before being published.
This site is protected by hCaptcha and the hCaptcha Privacy Policy and Terms of Service apply.