


With the unceasing progression of technology in home theater systems, avid users wish to get that perfect level of audio-visual synchronization. One of the simplest ways to enhance this sound experience is by taking advantage of HDMI ARC (Audio Return Channel).
This option greatly streamlines your setup by cutting out cable clutter and delivers excellent sound from the TV to the stereo amplifier. If you are a movie fan who loves the surround sound experience or a music lover who needs clear voice reproduction, integrating HDMI ARC transforms the way audio is delivered with very little effort.
While the standard HDMI Connection provides improvement over traditional audio connections, its successor HDMI eARC, Enhanced Audio Return Channel, does not stay behind by offering high bandwidth along with more advanced system audio features like Dolby Atmos and DTS:X for some of the more expensive soundbars.
But, here, the question we try to answer is, “How to connect HDMI ARC to an amplifier?” In this article, we will illustrate the simple and straightforward instructions to upgrade your home theater system to a top of the line quality one.
Benefits of Using HDMI ARC with an Amplifier
With new advancements in home audio systems, the quality of audio and simplicity of setup has never been more important. The HDMI ARC (Audio Return Channel) feature has transformed the way we connect devices, making it easier to integrate your TV with the amplifier, soundbar, and other devices.
When you use HDMI ARC to connect your stereo amplifier and your TV, you tend to enjoy a host of benefits that take your audio experience to new heights.
1. Single Cable For Audio Transmission: The standout benefit of HDMI ARC is its capability of transmitting audio from a single cable only. This saves users from connecting multiple devices, making the whole set up far more neat and easy to manage. Whether watching a movie, streaming a show, or listening to some music, HDMI ARC guarantees an efficient and clean connection between your TV and amplifier.
2. Support High-quality Digital Audio Formats: Another great benefit of HDMI ARC is that it supports high-quality surround sound formats like Dolby and DTS . This guarantees exceptional clarity in sound reproduction while at the same time accurately position audio elements like immersive surround sound and clear dialogue. For those movie enthusiasts, avid gamers, and music lovers, HDMI ARC is sure to deliver every audio on point.
3. Easy Integration with Smart TVs and Streaming Devices: In addition to the above benefits, HDMI ARC makes integration with modern smart TVs and streaming devices such as Netflix, Disney+, or Spotify possible. This lets your smart TVs send audio signals to your stereo amplifier without any complicated configurations and extra cables. In other words, it offers you a convenient way to enjoy your favorite shows, movies and music with effortless connectivity.
What You Need Before Connecting HDMI ARC
Before taking advantage of the sophisticated audio features that come with HDMI ARC, it is advisable to prepare the tools and components that will ease this connection. Although linking the TV to the amplifier via HDMI ARC is very easy, there are some steps that have to be observed in order to achieve the desired goal without complications.
1. Check for Compatibility: Firstly, it is essential to confirm whether your TV and stereo amplifier units are compatible with HDMI ARC.. For this, you need to check for the HDMI ARC label on the HDMI ports of the devices. Most new TVs and HDMI amplifiers have this feature, but it is prudent to check user manuals or specifications to be sure.
2. High Speed HDMI Cable (HDMI 1.4 or Above):To be able to use HDMI ARC, the device must include an HDMI cable with high speed capabilities. Make use of the HDMI 1.4 or higher cables because these standards guarantee stable audio transmission and can better accommodate digital audio formats such as Dolby and DTS. Don’t use older or low budget cables as they may not have the required functionality.
3. Check these Settings on Your TV and Amplifier: Now that you’ve checked the compatibility and the right cable, there are some settings that need to be changed on the TV and the amplifier. On the TV, go to the audio or sound features and turn on HDMI ARC or HDMI CEC (Consumer Electronics Control). This will allow the TV to send sound to the stereo amplifier. Similarly, on the HDMI amplifier, make sure that the right HDMI input is selected and that ARC functionality is enabled.
The steps listed above will give you an easy time connecting HDMI ARC to your amplifier. This process will give you the opportunity to fully enjoy your whole home audio system to the maximum.
Step-by-Step Guide to Connecting HDMI ARC to an Amplifier
Transforming your home theatre system with HDMI ARC is easier than you think. If you follow this step-by-step guide, you’ll be able to connect your TV to your amplifier and enjoy high-quality sound and hassle-free integration. So, Let’s get started!
Step 1: Check HDMI ARC Compatibility
First things first, make sure your TV and amplifier have an HDMI ARC port. Having an HDMI ARC label on the devices is one indication that they support it. If not, you might want to consider looking at the manuals or searching for specifications online. Remember that compatibility is essential for the setup to work, so check these things first.
Step 2: Connect the HDMI Cable
Now that you've checked the compatibility, ensure you have a high-speed HDMI cable (HDMI 1.4 or above). Following these steps will make it easier to set up your music streamers.
● Plug one side of the HDMI cable into the HDMI ARC port on your TV.
● Plug the opposite end into the HDMI ARC port of your stereo amplifier.
Now, with the setup complete, your TV can now send audio to the amplifier through the cable and even give control signals. Alongside it cut down the clutter in your space and also make your setup much simpler.
Step 3: Configure TV and Amplifier Settings
Now that there is a physical connection, settings on both devices need to be configured.
On Your TV
● Go to the sound and audio settings menu.
● Enable the HDMI ARC or HDMI CEC option. This feature allows the TV to send audio signals to the amplifier.
On Your Amplifier
● Set the input to HDMI ARC mode. This will allow the audio signal to be sent from the TV to the amplifier.
● Change the audio format to be PCM, Dolby, or DTS depending on your preference and the device’s capability.
Step 4: Test the Audio Output
Now comes the most awaited step. Play a video or stream content on the TV and see if the sound comes out of the amplifier. With these settings set rightly, a rich, high-quality sound is heard.
● With your amplifier or the TV remote, adjust the volume (depending on your set-up).
● If audio is not working, revisit the connections and check the settings on both devices.
Why Is This Setup Worth It?
By connecting HDMI ARC to your amplifier, you’re not just simplifying your setup, you are upgrading it completely. The entire setup supports high quality digital formats such as Dolby and DTS and because of this, you can enjoy surround sound that immerses you in the activity, whether you are watching movies, listening to music, or playing games.
Additionally, the use of a single cable eliminates the mess created by multiple wires, making your home entertainment system efficient and aesthetically appealing.
Troubleshooting Common HDMI ARC Issues
Integrated HDMI ARC features can be problematic even when every device is set up correctly. In the case of amplifiers outputting no sound or sound lag, here are a few tips to help you solve the more universal issues.
No Sound From The Amplifier? Try These Fixes:
● First, ensure that your TV is plugged into the right ports. – Make sure that both sides of the HDMI cable are plugged into the amplifier and TV. If possible try using a different high speed HDMI cable – 1.4 or higher.
● Remember to enable CEC from the HDMI settings. - Your TVs require CEC (labeled as Anynet, Simplink, or Bravia) to be enabled in order for HDMI ARC to function properly.
● Try resetting both devices first and attempt reconnection afterwards - Power off both the TV and amplifier, unplug the devices for a couple of minutes before plugging them back in, and then turning them back on. This can sometimes reset the HDMI connection.
● Make sure the right input is being selected on the amplifier. - The amplifier may not be set to the correct HDMI input that enables the ARC connection. There are some HDMI amplifiers that need to be put into ARC mode manually.
Audio Delay or Lip-Sync Issues? Try This:
● Try adjusting the audio delay on your amplifier. - “Audio Delay” or “Lip Sync” is a common setting found on most HDMI amplifiers, which will let you adjust the audio timing, allowing it to be in sync with the video.
● Opt for a Better HDMI Cable- The use of an inferior or defective HDMI cable can lead to transmission delays. Make use of high-speed HDMI cables that support ARC along with certification for high-bandwidth audio.
Alternative Methods for Audio Connection
If the HDMI ARC feature is missing, or isn’t working as expected, there are multiple methods to connect the TV to an amplifier to achieve good sound quality. Here are some tested options:
1. Optical Cable (TOSLINK)
If your TV or music streamer does not accept HDMI ARC connection, then an optical cable (TOSLINK) would work perfectly. It can be used with TVs, modern soundbars, and stereo amplifiers and provides excellent digital audio.
Key Benefits:
● Compatible with high-quality audio formats such as Dolby Digital.
● Resistance to electromagnetic charge, guarantees sound clarity.
● Devices equipped with an optical audio socket can be easily connected.
Best For:
● Users of home theater systems that lack HDMI ARC feature.
● People interested in using an efficient digital audio connection without HDMI.
2. Bluetooth or Wi-Fi Streaming
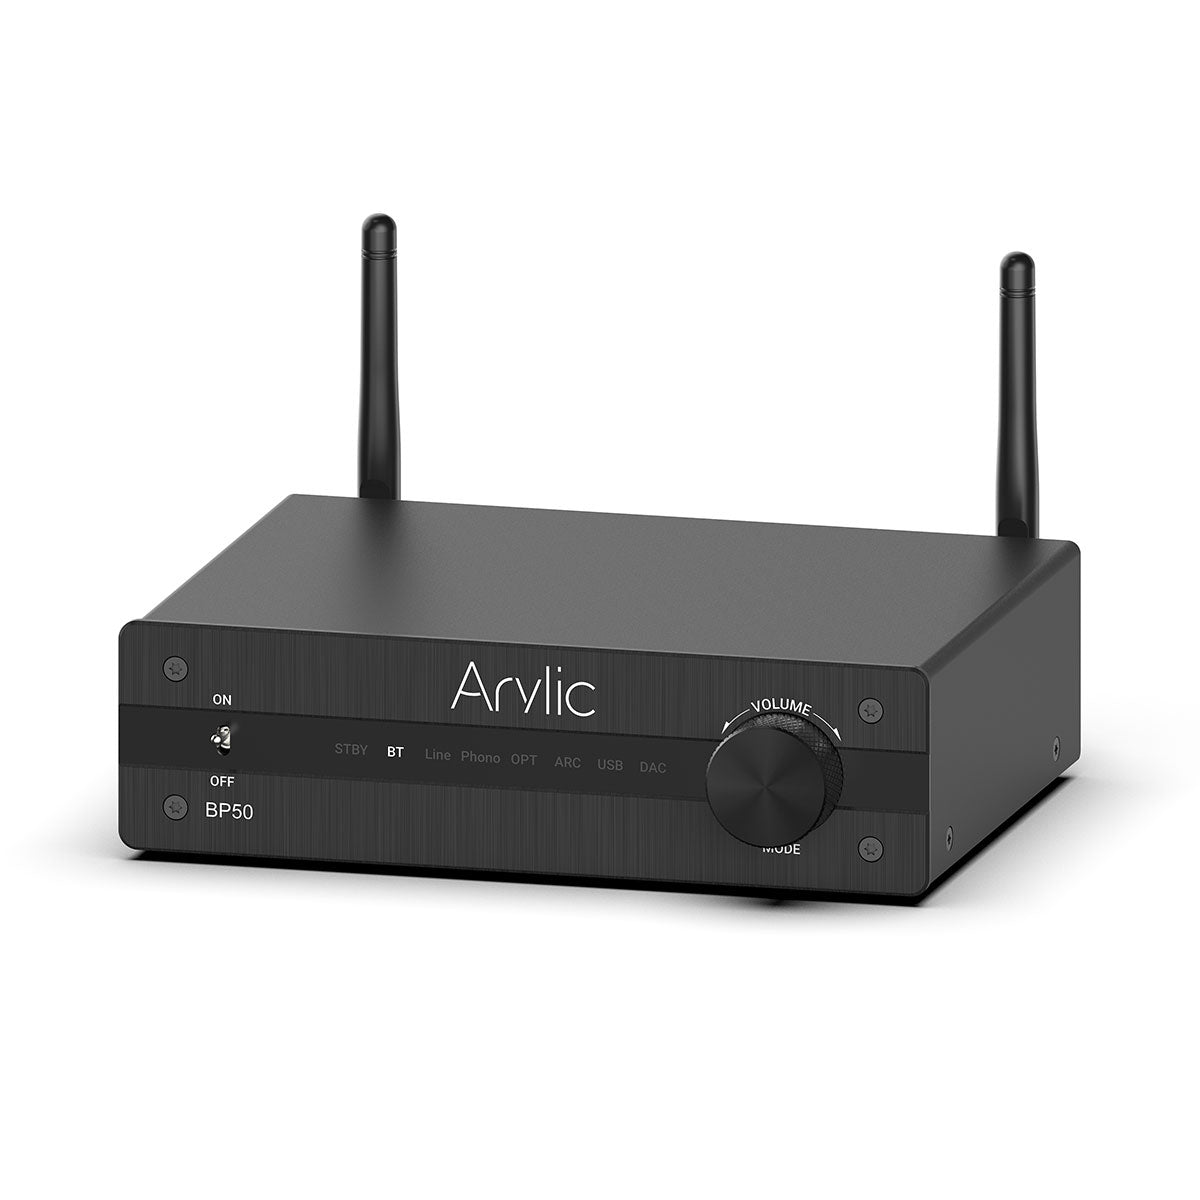
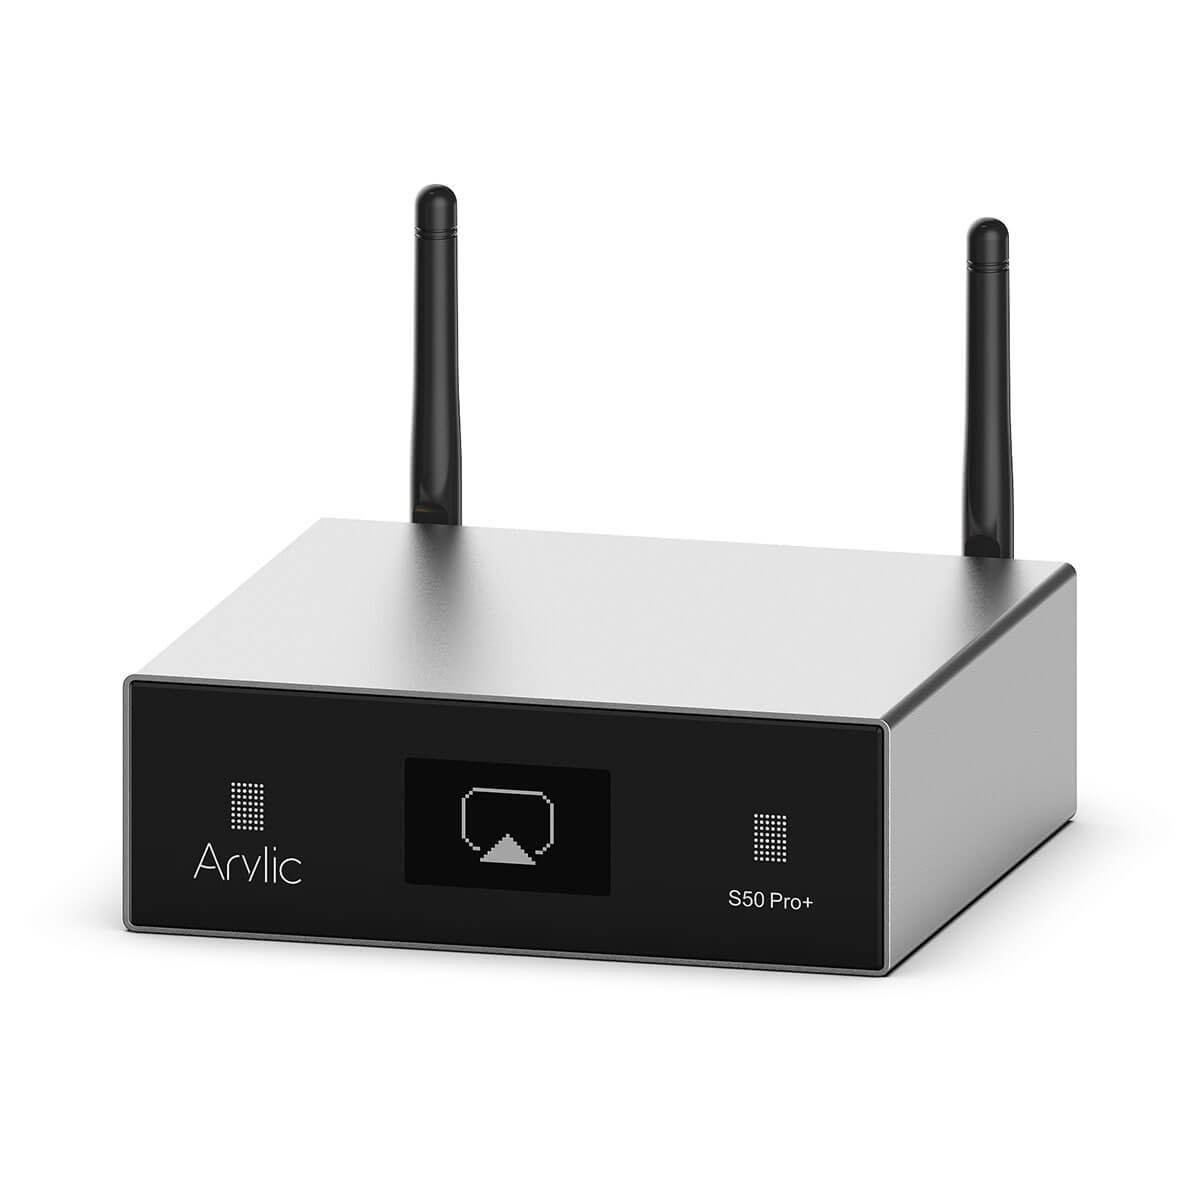
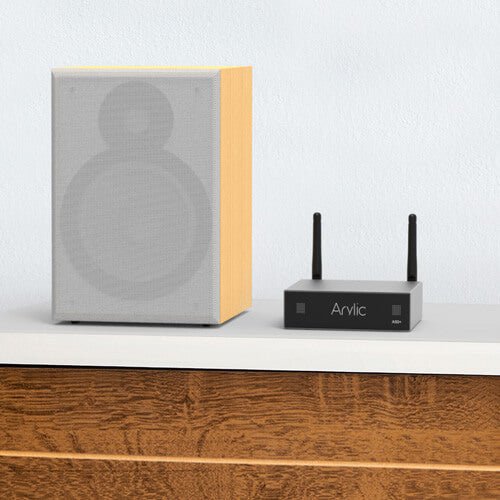
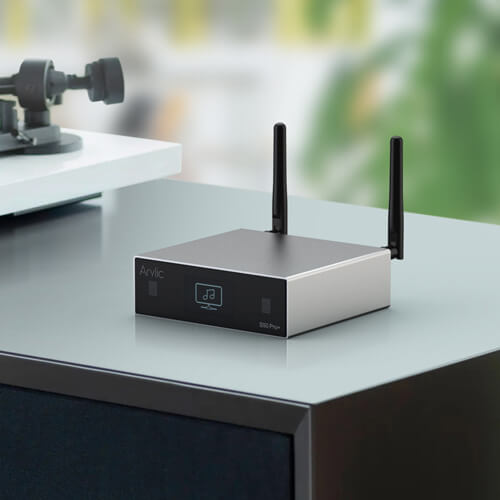
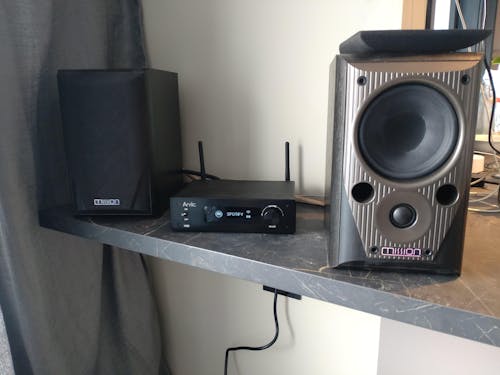
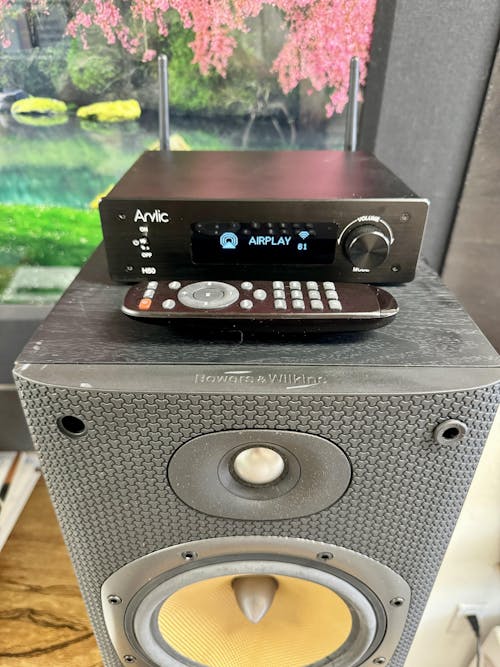
Bluetooth or Wi-Fi streaming is perfect for those looking for flexibility and convenience. Devices such as Arylic bluetooth amplifiers give users the freedom to stream audio from smartphones, tablets, and TVs without the need of cables.
Key Benefits:
● Transform your audio setup into a neat and tidy space.
● Create a connected home experience with multi-room audio receiver capability.
● Wide compatibility with smartphones, tablets, laptops, and other devices.
Best For:
● People who enjoy a cable free setup.
● Multi-room home audio system and flexible home audio configuration.
3. AUX or RCA Connections
For older amplifiers or home audio systems, analog connections such as AUX (3.5mm connector) and RCA plugs remain the most go-to-choice. Their simplicity makes them user friendly, and many older TVs, stereos, and other music streamers widely support these connections.
Key Benefits:
● Compatible with a wide range of devices, both new and old.
● Inexpensive, simple, and quick to implement.
● Perfect for connecting home stereo systems.
Best For:
● Establishing connections to older amplifiers or audio systems.
● Anyone with old audio equipment looking for a hassle-free option.
Choosing the Right Method
The ideal audio connection option always depend on your specific requirements and equipment:
● Optical Cable: Best for high-quality digital sound, given that there is no HDMI ARC available.
● Bluetooth/Wi-Fi: Best suited for users looking for flexibility and multi-room setup.
● AUX and RCA plugs: Preferable for older simple amplifiers and stereo systems.
By knowing these alternatives, the perfect home stereo system becomes possible, tailored to one’s equipment and preferences. No matter whether you’re upgrading to a modern wireless system or downgrading to a classic wired connection, there is always an option available to suit your needs.
Conclusion
Connecting amplifiers using HDMI ARC always stands out as the most effortless and simple solution and still provides the best audio quality. The audio passes through the HDMI amplifier without any additional effort needed on further equipment configuration. However, the devices need to be fully compatible and set properly.
In case your music streamer does not support HDMI ARC, do not fret about losing audio quality or features, because an Optical Cable will give you the same digital audio output.
Furthermore, Bluetooth Or Wi Fi Streaming, specifically with Arylic best budget amplifiers, gives a lot more ease and flexibility as compared to wired options.
For users with older setup, these options do not restrict you as Aux Or RCA Connections are fully functional with the older systems.
No matter your need or equipment, there’s always a way to achieve good sound. By exploring options listed above, you can create your own audio theme based on preferences and the setups available. Be it Modern and high tech options or basic and older equipment, the connection sought out is always within reach.


Leave a comment
All comments are moderated before being published.
This site is protected by hCaptcha and the hCaptcha Privacy Policy and Terms of Service apply.